
Kubernetes Features That Feel Like Cheats
7 hidden Kubernetes features that make debugging, rollouts, and cluster behavior feel unfairly easier.

I spent a long time using Kubernetes the same way most engineers do.
Deployments. Services. HPA. Logs. kubectl describe. Repeat.
And that works. Until it doesn’t.
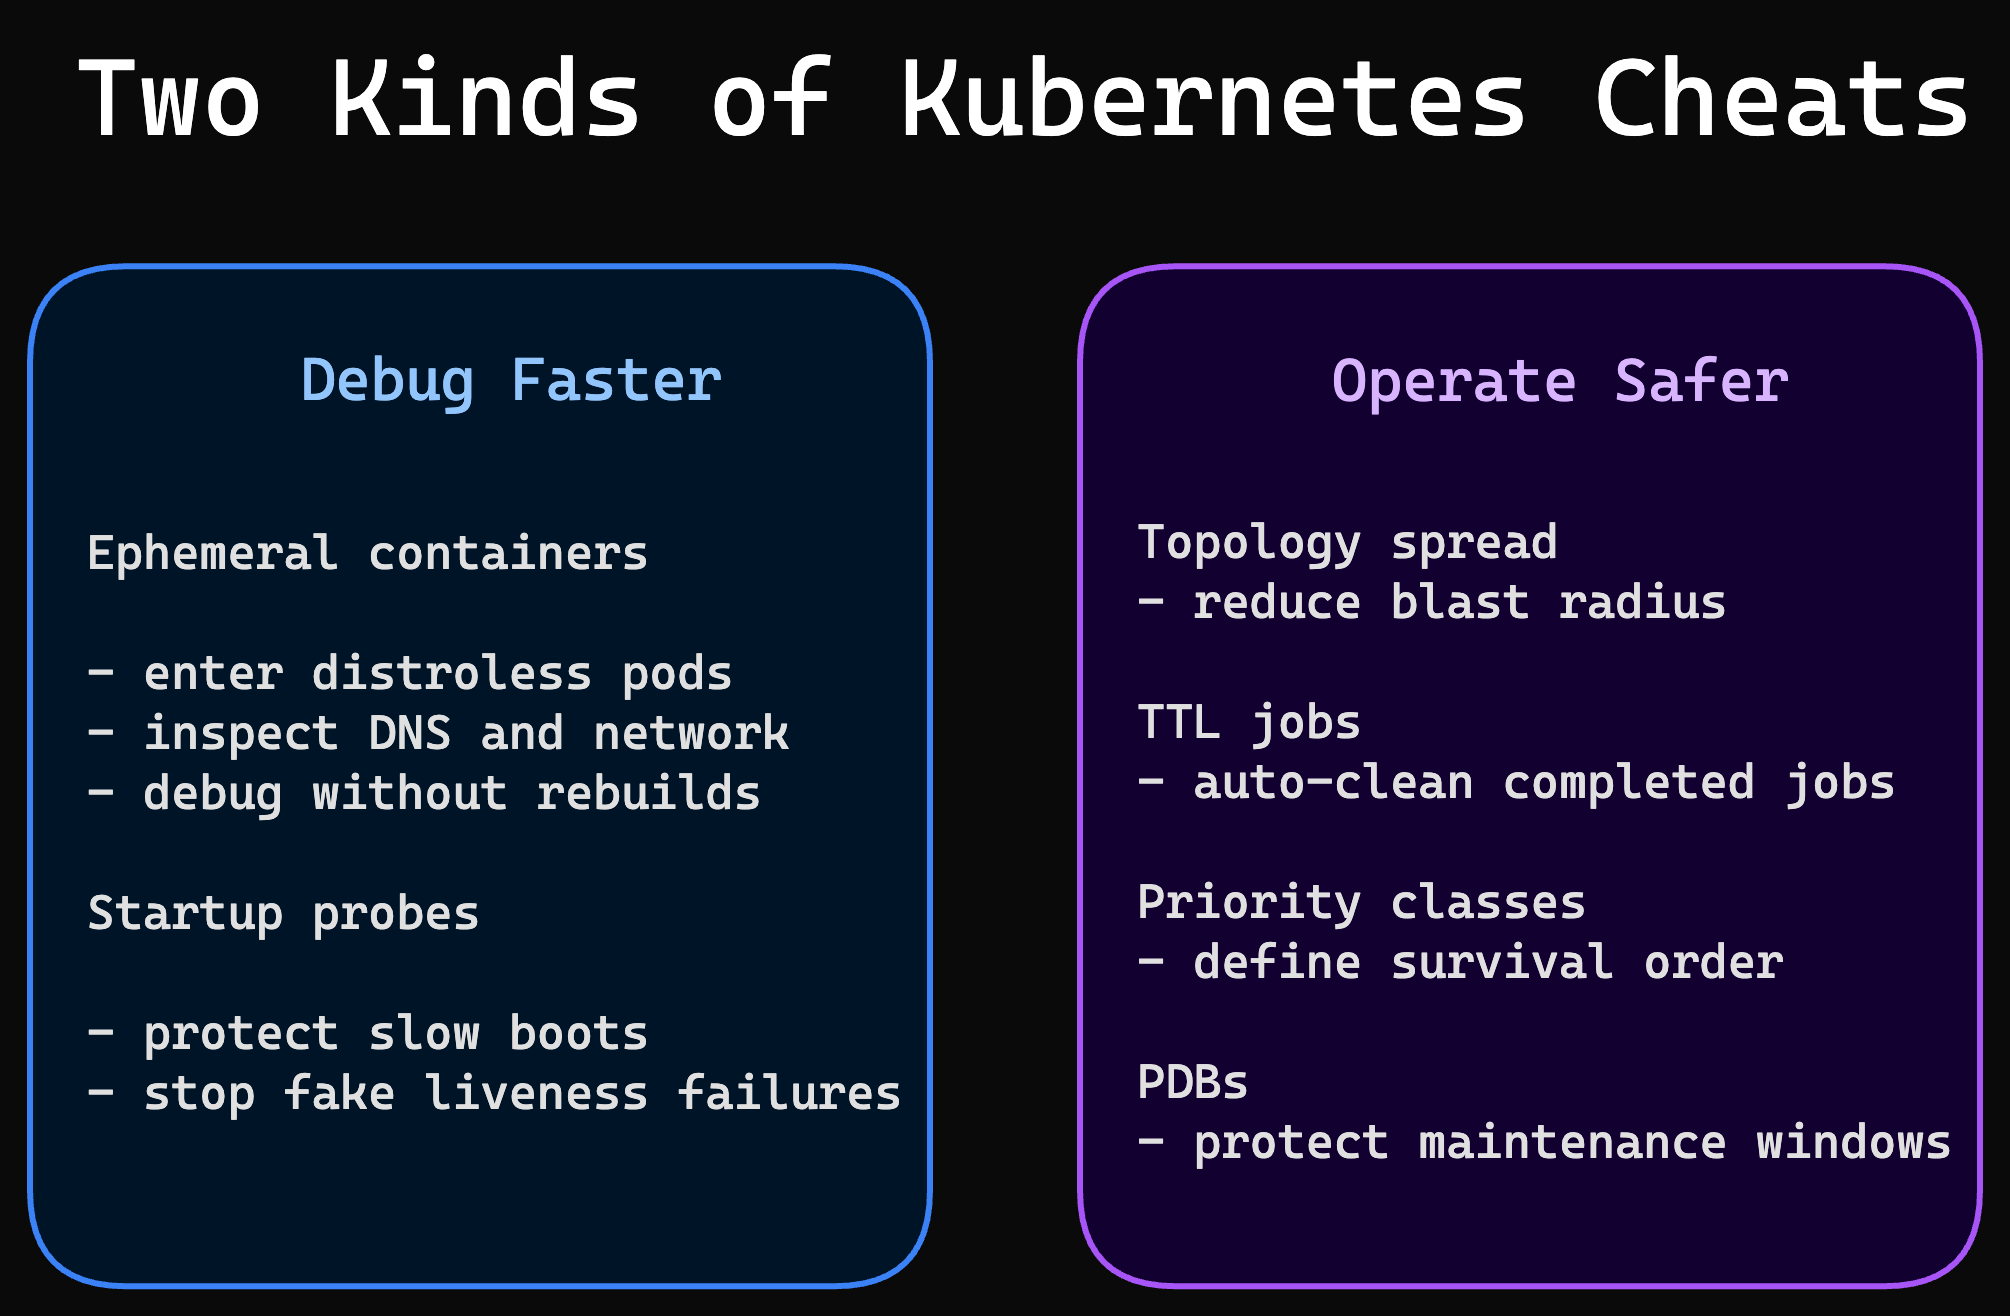
Then one day you see someone debug a broken distroless pod without rebuilding the image. Or keep a slow app out of CrashLoopBackOff with one probe change. Or stop a rollout from dumping all replicas into the same failure zone with six lines of YAML.
And your reaction is immediate.
Not “wow, Kubernetes is powerful.”
More like: why did nobody show me this earlier?
That’s the feeling I want from this post.
Not Kubernetes basics. Not another “what is a Pod” refresher. Just a handful of features that make you feel like you found a new lever inside the platform. And once you see them, it’s hard to go back.

Let’s dive in.
1. Ephemeral Containers
Your pod is running. Your app is not.
You kubectl exec into it and get nothing useful because the image is tiny, distroless, or stripped down for production. No shell. No curl. No nslookup. No tcpdump.
This is where ephemeral containers feel illegal.
They let you inject a temporary debugging container into a running pod without rebuilding the image or changing the deployment.
kubectl debug pod/api-6d4b7d9c7b-jxk2m -it \
  --image=nicolaka/netshoot \
  --target=api
Now you have a debugging toolbox inside the pod’s world. You can test DNS, inspect network paths, hit local ports, and stop guessing.
This is perfect for:
distroless containers
production images with zero debug tooling
weird network issues that only exist in-cluster
“it works locally” incidents that need proof, not opinions
Here’s the thing. Most teams still rebuild the image just to add bash or curl, then redeploy under pressure. That’s slow and sloppy.
Ephemeral containers turn debugging into a surgical move instead. And once you use them once, normal kubectl exec feels primitive. But debugging is only one place Kubernetes hides these little unfair advantages.
2. Startup Probes
Liveness probes are great. Until they become the reason your app never starts.
You’ve probably seen this pattern:
app boots slowly
liveness starts checking too early
probe fails
kubelet restarts the container
repeat until you have a neat little
CrashLoopBackOff
The app was not dead. It was just slow.
Startup probes fix that.
They give your container a protected startup window. Until the startup probe succeeds, Kubernetes ignores the liveness and readiness checks.
startupProbe:
  httpGet:
    path: /healthz
    port: 8080
  failureThreshold: 30
  periodSeconds: 10

livenessProbe:
  httpGet:
    path: /healthz
    port: 8080
  periodSeconds: 10

readinessProbe:
  httpGet:
    path: /ready
    port: 8080
  periodSeconds: 5
That gives the app 300 seconds to come up cleanly before liveness takes over.
This is gold for:
JVM apps with ugly cold starts
apps warming caches on boot
services waiting on external dependencies
legacy workloads that do real work before listening
A lot of engineers try to solve this by making liveness slower. That helps, but it mixes two different concerns. Startup behavior and runtime health are not the same problem.
Startup probes keep those concerns separate. And that separation is what makes the fix feel clean. But startup is only half the story. Placement can hurt you just as badly.
3. Topology Spread Constraints
Kubernetes is pretty good at scheduling. It is not magically aligned with your failure domains.
If you do nothing, it may place multiple replicas of the same app on the same node or in the same zone. That’s fine right up until that node or zone has a bad day.
Then your “highly available” app falls over in a way that feels deeply embarrassing.
Topology spread constraints let you explicitly tell Kubernetes to spread pods across nodes, zones, or other topology keys.
topologySpreadConstraints:
  - maxSkew: 1
    topologyKey: topology.kubernetes.io/zone
    whenUnsatisfiable: DoNotSchedule
    labelSelector:
      matchLabels:
        app: checkout
  - maxSkew: 1
    topologyKey: kubernetes.io/hostname
    whenUnsatisfiable: ScheduleAnyway
    labelSelector:
      matchLabels:
        app: checkout
That one block gives you something most teams assume they already have: controlled spread.
What it really buys you:
fewer replicas lost in a single node failure
fewer replicas lost in a single zone failure
more predictable rollout behavior
less accidental concentration under load
Quick tip: if you only use pod anti-affinity for this, you often get something heavier and less flexible than you need. Spread constraints are more expressive for balanced placement.
This is one of those features that does not look sexy in YAML. But when the wrong node dies and your service barely notices, it feels like a cheat. And some of the best cheats are about cleanup, not availability.
4. TTL Controller for Finished Jobs
Batch jobs have a talent for becoming digital trash.
The job finishes. The pod completes. Everyone moves on. And six weeks later your cluster is full of dead Completed objects nobody needed to keep.
You can clean that up yourself. Or you can let Kubernetes do it.
The TTL controller for finished Jobs deletes completed Jobs automatically after a defined time window.
apiVersion: batch/v1
kind: Job
metadata:
  name: nightly-report
spec:
  ttlSecondsAfterFinished: 3600
  template:
    spec:
      restartPolicy: Never
      containers:
        - name: report
          image: my-report:latest
This means:
The job runs
The logs and status stay around for one hour
Kubernetes removes the finished Job automatically
Small feature. Huge hygiene win.
It helps with:
cron-heavy clusters
CI-style jobs
migration or backfill jobs
keeping
kubectl get jobsfrom becoming landfill
If you’re finding this useful, subscribe to DecodeOps. I break down one real-world DevOps problem every week.
The reason this feels so good is simple. It removes a category of maintenance work you should never have been doing manually. And once you start noticing dead objects everywhere, you start noticing execution patterns too.
5. Indexed Jobs
Some workloads need parallelism. But not random parallelism.
They need partitioned work.
Think:
shard 0 handles one slice
shard 1 handles another
each worker knows exactly which chunk it owns
Indexed Jobs give each pod in a Job a stable completion index. That means each worker can read its own index and process a deterministic partition.
apiVersion: batch/v1
kind: Job
metadata:
  name: image-processor
spec:
  completions: 5
  parallelism: 5
  completionMode: Indexed
  template:
    spec:
      restartPolicy: Never
      containers:
        - name: worker
          image: my-worker:latest
          env:
            - name: JOB_INDEX
              valueFrom:
                fieldRef:
                  fieldPath: metadata.annotations['batch.kubernetes.io/job-completion-index']
Now each pod gets a clear index value and can process its own bucket.
This is cleaner than building your own coordination layer for simple partitioned batch work. And for the right workload, it is dramatically cleaner.
Not every cluster needs this. But when you do, the first reaction is usually the same:
Wait. Kubernetes already had this?
And that reaction is the whole point of this article. But execution control gets even more interesting when the cluster gets crowded.
6. Priority Classes
Not all workloads deserve equal treatment.
But a lot of clusters act like they do.
When resources get tight, Kubernetes can use Priority Classes to decide which pods matter more. Higher-priority pods get scheduled first and can even preempt lower-priority pods if needed.
apiVersion: scheduling.k8s.io/v1
kind: PriorityClass
metadata:
  name: platform-critical
value: 100000
globalDefault: false
description: "Critical workloads that must schedule first"
---
apiVersion: apps/v1
kind: Deployment
metadata:
  name: ingress
spec:
  template:
    spec:
      priorityClassName: platform-critical
This is useful when:
platform components must stay alive
business-critical APIs matter more than back-office workers
bursty clusters need a clear survival order
you want policy, not chaos, during contention
Without this, resource pressure becomes a social problem. Everyone assumes their workload is important. Priority Classes let you encode the answer directly in the cluster.
That does not replace capacity planning. But it gives you a sane fallback when the cluster is under real pressure. And the last feature on this list is the one that saves teams from sabotaging themselves during maintenance.
7. Pod Disruption Budgets
Your app can be perfectly healthy and still get wrecked by your own cluster operations.
Node drain. Managed upgrade. Voluntary eviction. Autoscaler decisions.
All of those are “normal” events. And all of them can remove pods at exactly the wrong time.
A Pod Disruption Budget tells Kubernetes how much voluntary disruption your app can tolerate.
apiVersion: policy/v1
kind: PodDisruptionBudget
metadata:
  name: checkout-pdb
spec:
  minAvailable: 2
  selector:
    matchLabels:
      app: checkout
Now Kubernetes knows it cannot evict below that threshold during voluntary operations.
This matters more than people think because many outages are not caused by app crashes. They are caused by “safe” infrastructure work done with the wrong assumptions.
PDBs are not glamorous. They are just one of those boring guardrails that suddenly look brilliant during upgrades.
And that is usually the pattern with the best Kubernetes features. They look small in YAML and enormous in production. Which brings us to the part most list posts skip.
When These Features Are Not the Right Move
I don’t want to oversell this.
These are powerful features. They are not free.
Don’t use them blindly.
Ephemeral containers are for debugging, not permanent operational workflows.
Startup probes should not hide genuinely broken startup logic.
Topology spread constraints can make scheduling stricter than your cluster can satisfy.
TTL cleanup can remove evidence you wanted for compliance or long-tail debugging.
Indexed Jobs are great for deterministic partitioning, but overkill for simple fire-and-forget batch work.
Priority Classes can create noisy internal politics if every team tries to mark itself critical.
PDBs can block node drains and surprise you if replica counts are already too low.
That’s the point. Kubernetes gives you sharper tools as you get more serious. Sharper tools cut better. They also cut deeper if you use them carelessly.
But once you understand where each one fits, they stop feeling obscure and start feeling unfairly useful. So here’s the short version to keep.
The Shortlist I’d Learn First
If I had to pick the three that create the fastest “new thing today” payoff, I’d start here:
Ephemeral containers for real debugging
Startup probes for slow-booting apps
Topology spread constraints for actual high availability
Those three alone will make you see your cluster differently.
And that is usually the mark of a great Kubernetes feature. Not that it exists. That once you understand it, your old workflow feels a little embarrassing.
That’s it for today.
Which Kubernetes feature made you stop and say, “wait, it can do that?” Share it in the comments.
See you next week. Try not to break production before then.
Keep decoding, Bhanu from DecodeOps